Image Credit: Charles Bickford
I used to worry every time I installed a skylight. Even with the best installation detailing, I could still expect a storm to hit from just the right direction and drive water behind the flashing.
When I discovered peel-and-stick membranes, my worrying days ended. Now I follow a series of simple steps that hasn’t failed in more than 15 years’ worth of installations. The key to success is integrating the membrane and the flashings with the shingles to direct water back to the surface of the roof. Although the project shown here is a retrofit, I would flash it the same way on a new home.
Put the skylight here
This project called for adding two 22-in.-wide skylights (for 24-in. on-center framing) into rafters spaced 16 in. on center. To support the opening and tail rafters, I sistered the inside face of the existing rafters to close the overall opening down 3 in. more. Then I positioned the skylight up the roof plane so that the opening would be centered on the interior room’s ceiling. I framed the skylight openings from the inside, as shown in the drawing (below).
Cut the opening one layer at a time
With the rough opening framed, the easiest way to locate the skylight on the roof is to stand inside and drive screws up through the sheathing and the shingles at all four corners. Then I can go out and snap chalklines between the screws to mark the location.
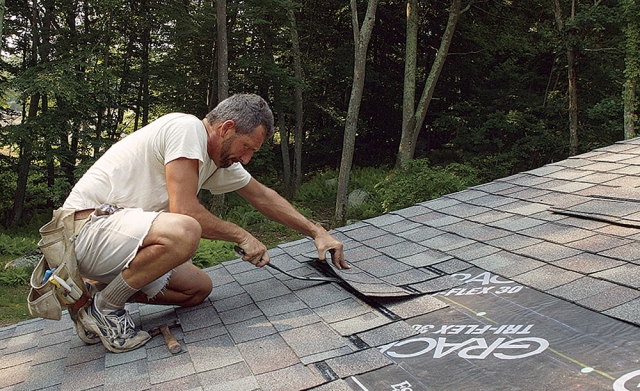
To start the hole, I strip back the roof shingles, beginning three courses above the top of the skylight. To free the third course, I pull the nails at the center and at the course above. A carefully inserted thin flat bar breaks the shingles’ self-adhesive strip and wedges up under the nails. It’s easier…
Weekly Newsletter
Get building science and energy efficiency advice, plus special offers, in your inbox.

This article is only available to GBA Prime Members
Sign up for a free trial and get instant access to this article as well as GBA’s complete library of premium articles and construction details.
Start Free TrialAlready a member? Log in


0 Comments
Log in or become a member to post a comment.
Sign up Log in