
Image Credit: All photos: Alexi Arango
As they set out to build a single-family Passivhaus on Potwine Lane in Amherst, Massachusetts, Alexi Arango and LeeAnn Kim asked themselves, “Is it possible to live without burning fossil fuels?” One measure of success would be meeting their goal of net-zero energy performance. This is the fifth blog in a planned series.
March 30, 2014: Second-floor framing
Don, the carpenter, made tremendous progress again this week, especially considering the rainy and windy conditions. It’s such an exciting time. The house looks totally different every day. At this point, most of the second floor framing is in place.
I got to climb up on the second floor and have a look around. It was thrilling to finally be able to see the surrounding landscape from the second floor. I’ve been so curious to check out the window placement on the second floor, to see for myself what scenic landscapes are perfectly framed by the windows, and, sadly, what landscapes are obscured by the walls.
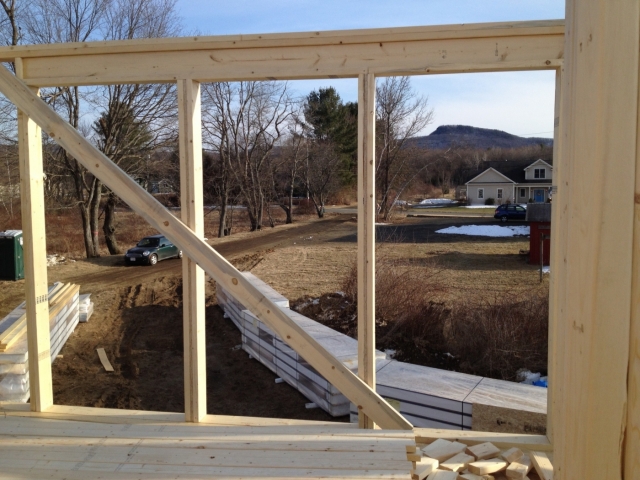
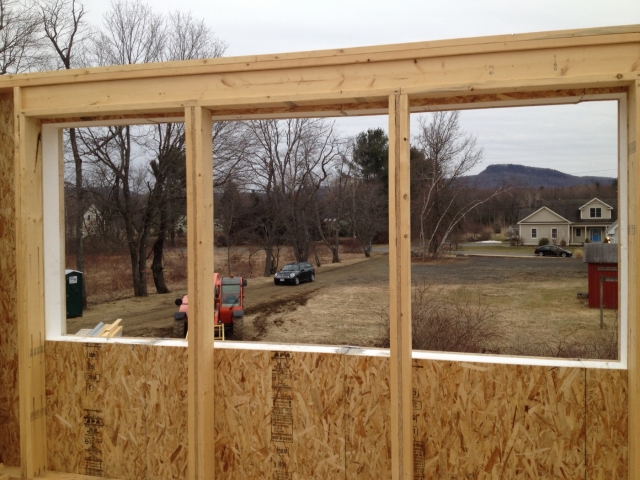
View from the second floor master bedroom
In the shot above, you are looking through the three master bedroom windows. The scene is framed wonderfully, I think. I love the straight driveway, lined with a row of trees, heading diagonally across the frame, drawing the eye toward the mountain. It’s more of an Amherst suburban feel, with roads, houses, fields and a mountain in the background. It’s a little weird that bedroom is exposed to the road, however.
Maybe this room will have to be an office. I’m jealous of my neighbors who live on the south side of the road.
I can see Russia from my HOUSE!
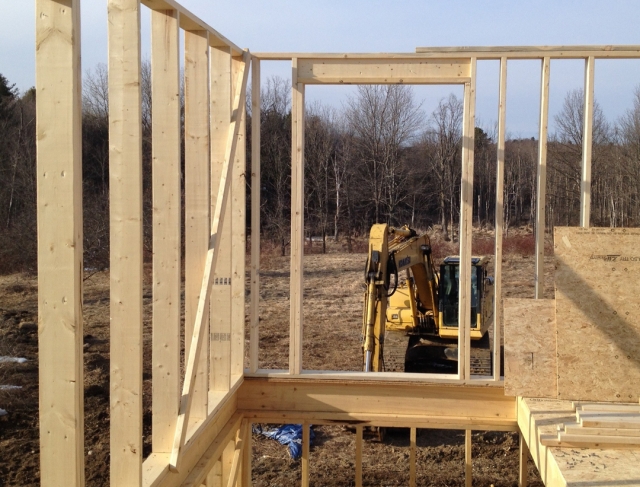
Looking north, out over the top of the stairs beyond the window in the stairwell, I was slack-jawed — the view of the natural landscape is absolutely spectacular and the wildlife viewing opportunities are going to be amazing. You can’t quite get a sense for the detail and the intricacy of the landscape without a better zoomed-in image, but it feels like you are a hundred feet up in the air and you can see forever. Beyond the excavator, one can see (not in this image) the northern most beaver dam. Off to the left are apple trees, wetland, a beaver lodge, beavers swimming in the water and a beaver dam.
I shouldn’t have built a Passivhaus
If you read my last post, you know that I’ve struggled with the limitations imposed by Passivhaus on north windows. Climbing up onto the second floor, I couldn’t escape the feeling that I have made a huge mistake. I should have gone with 100% glass walls.
The best views are going to be completely blocked once the SIPs are in place. This spot calls for a viewing tower, not a demonstration to the world of an affordable and charming zero-energy house. I suddenly dreaded the day when the SIPs are put up and the expansive 360-degree views will be gone. If only Amherst were located in the southern hemisphere.
I’ve got a plan
While I was up there, I hatched a plan — a sort of compromise that will allow me to salvage my energy efficiency fanaticism while still being able to enjoy the vistas that I feel like I suddenly can’t live without: I’ll put up a second story deck.
All I need is a window door, right at the top of the stairs, to the left. The deck will run along the left wall toward the back and wrap around the back side of the house. The superinsulated enclosure is preserved, and if you need to see two raptors fighting (this happened), you can go out on the deck.
I can’t afford to modify the project right now, so it will have to be an add-on at a later time. Hopefully, GO Logic will think it’s possible.
April 5, 2014: Getting the SIP walls up
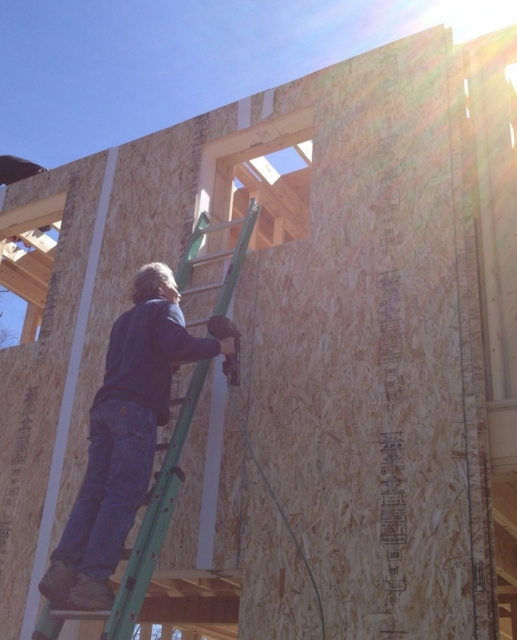
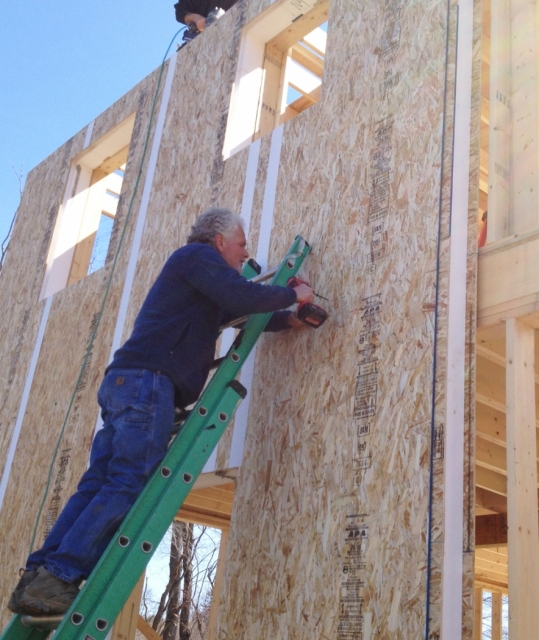
It was an exciting week. Don finished the second floor framing and spent Thursday and Friday putting up the SIPs along the north and south walls, with the help of two younger guys. They were an awesome team to watch, constantly bantering, moving here and there, helping each other out, and communicating about tactics, problems and next steps.
It’s great to see an experienced team — a fine-tuned machine — working like that. They are, however, pretty cavalier about running up and down the ladders — the most jiggly and unstable ladders I’ve ever seen — which was scary to watch, but entertaining.
Forklift instead of a crane — didn’t work out
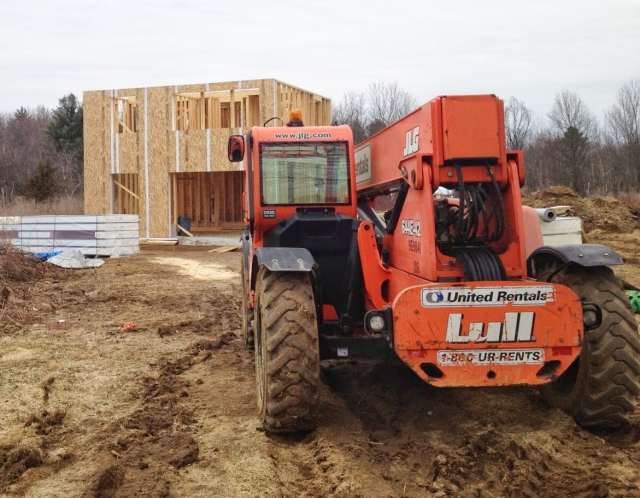
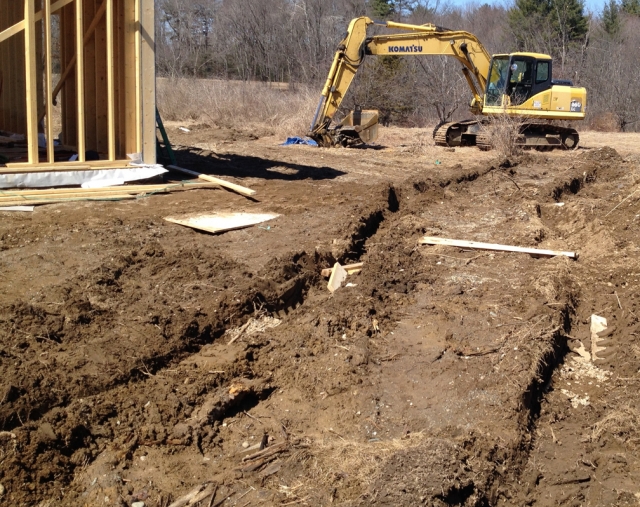
Instead of a crane, Integrity decided to use a large forklift to lift the SIPs. A crane is more expensive than a forklift and it seemed like it would do the job just as well. Turns out that we didn’t even need the forklift. It got stuck in the mud around the perimeter of the home, and was therefore totally useless. It’s not clear from the image at left, but those tracks are at least two feet deep.
Raising the SIPs
Instead, we carried over the SIPs by hand and raised them by walking it up from one end, as the video above shows. It’s pretty heavy, but doable.
The whole SIP installation process
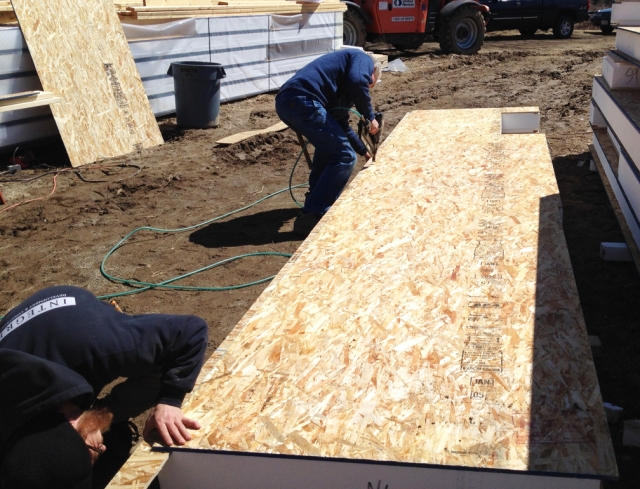
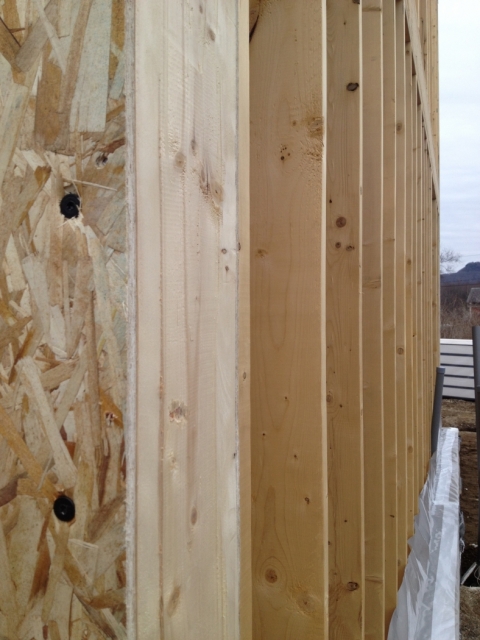
First, narrow strips of OSB are measured and cut, inserted into the groove at the SIP’s edge, and nailed into place. These inserts help lock the SIPs together.
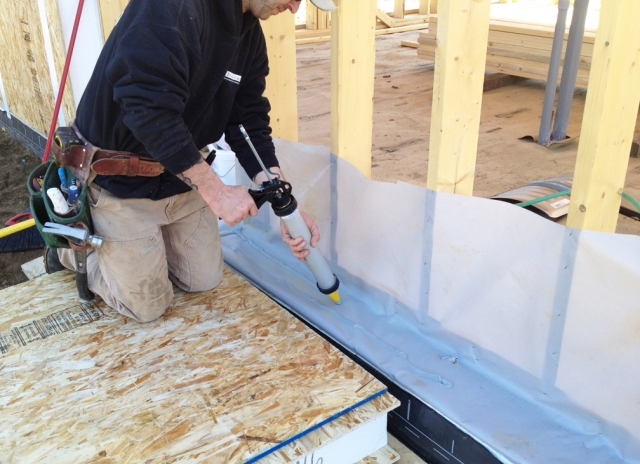
The plastic vapor barrier is wrapped from under the concrete, over the EPS foam, back over a piece of plywood directly on top of the foam, and then up along the frame. A double strip of caulking is applied to the plastic at the ledge where the SIP will sit.
Once the SIP is standing vertically, it must be lifted up onto the ledge, which is awkward, but the guys were able to do it — they seem to have fingers of glue. Then the SIP is slid over against its neighbor. It is surprisingly easy to slide the SIP along the ledge, apparently due to the smoothness of the plastic and an ample amount of caulking. Banging along the bottom of the SIP gets the bottom end flush with the adjacent panel (to within an eighth to a quarter of an inch), where it is fixed with a nail before the top is wedged into place, bringing the whole panel flush with its neighbor.
The image at left shows Don nailing the panel to the insert.
A 2×8 is laid in the groove at the top of the SIP and nailed into place.
Gigantic screws fasten the SIP to the frame.
By the end of Thursday, almost the whole north wall was complete.
Because of the extra spacing between each panel, about 1/2 inch to 3/4 inch had to be cut off of the end of the panel to make it flush with the frame.
Finally getting to see how the window openings look
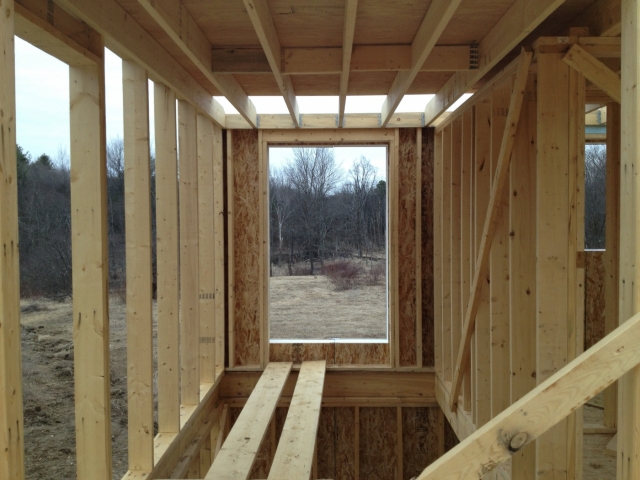
I’ve been looking forward to seeing how the top of the stairway would turn out for about a year now. Looking out at the window over the stairs settles it: let’s remove the shelving at the top of the stairs — the view would be interrupted too severely. The question remains: how will we make up for the lost storage space?
Looking in the other direction, the study window feels a bit small, but the mountain is nicely framed.
Adding the third window in the middle really makes this view from the master bedroom work. I’m so glad we decided to go with it.
Alexi Arango is an assistant professor of physics at Mount Holyoke College in South Hadley, Massachusetts, where he and his students conduct research on next-generation photovoltaic cells. Arango teaches a joint physics/environmental studies course on renewable energy. Arango’s blog is called Potwine Passive House.
Weekly Newsletter
Get building science and energy efficiency advice, plus special offers, in your inbox.







One Comment
Great love for the home
Great love for the home building process, good for you and your crew. Wonderful views, ruts so deep Australians can be seen in them, such fun all home builders need to have.
Log in or create an account to post a comment.
Sign up Log in