
Image Credit: All photos: Alexi Arango
More Guest Blogs


As they set out to build a single-family Passivhaus on Potwine Lane in Amherst, Massachusetts, Alexi Arango and LeeAnn Kim asked themselves, “Is it possible to live without burning fossil fuels?” One measure of success would be meeting their goal of net-zero energy performance. This is the seventh blog in a series.
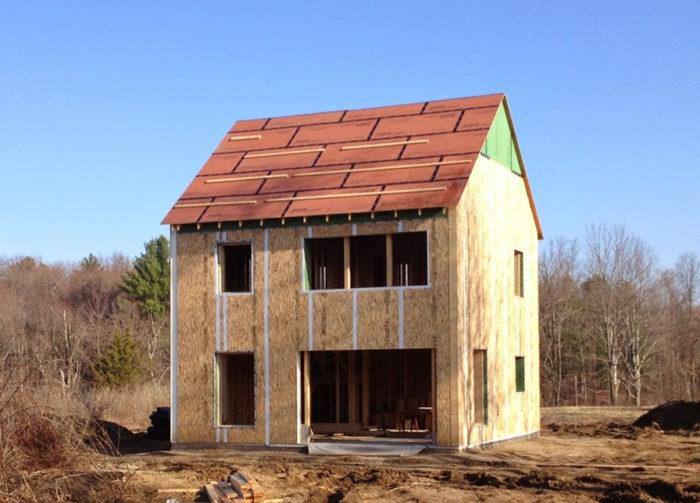
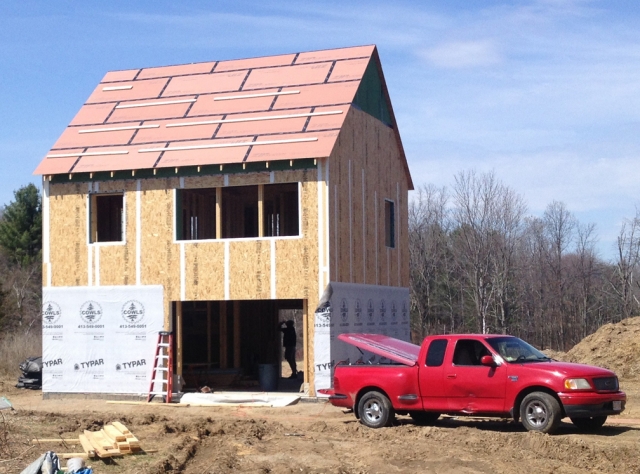
April 23, 2014: The roof is up
The week involved finishing the roof sheathing, working on the window frames and building a temporary staircase. Things are starting to get detailed, and are taking more time. Below, I’ll show how the windows are framed since the process appears to be non-standard (and important).
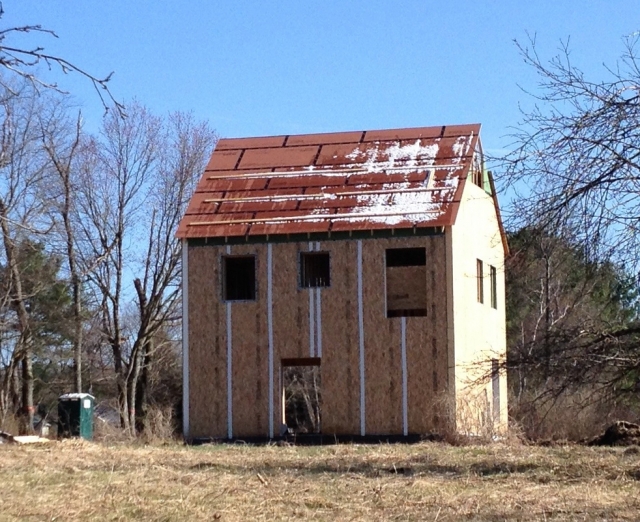
Roof almost done before the snow
Don almost had the roof complete before the wind picked up and nearly blew him off (according to how he tells it). The next day, the rain and snow ended up getting everywhere. Above, a little bit of snow is still left on the roof after the storm. I love this shot of the back of the house from the apple orchard. As architect Todd said: “the house sits nicely on the land.”
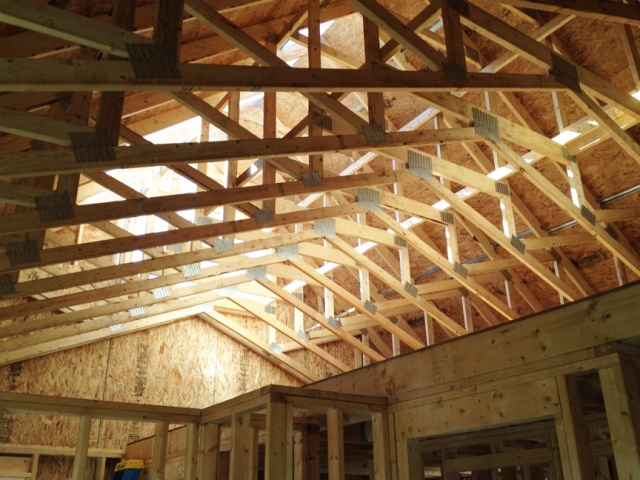
A look at the scissor roof trusses
Here’s a cool shot of the scissor trusses. Zip panels will be attached to the underside, forming the air barrier as well as the gabled ceiling of the two front rooms. Almost 2 feet of blown-in cellulose insulation will go on top of the Zip panels, outside the airtight envelope. There is some reduction in the insulating ability of the cellulose due to the fact that cold air will be able to move through the insulation, but the advantage is that moisture will not get trapped.
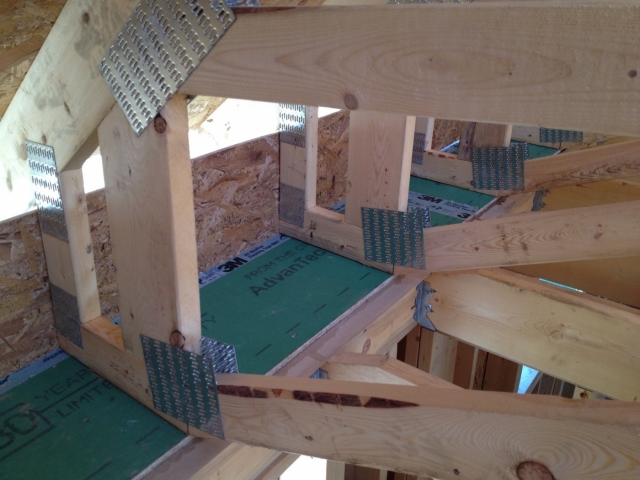
The roof truss at the eave sits on the ZIP air barrier. The ZIP will continue along the scissor truss. Notice how the floor joists are angled to accommodate the ZIP and drywall.
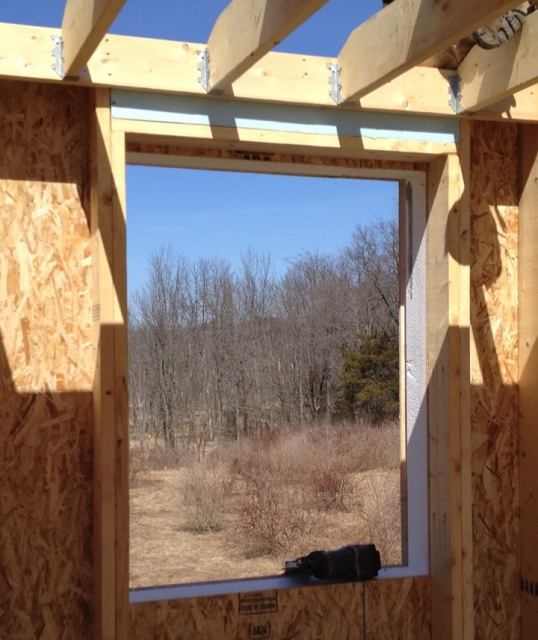
It takes time to frame these windows
Normally, the window framing would be complete at this point (except that the sill is missing in the image at left). With our construction, the window frame spans two walls — the SIP wall and the stud wall — so there’s quite a bit more to do. The two walls must be bridged in a way that is airtight and moisture-repellent. Don and a helper spent much of the week finishing the extra steps to frame the windows, and reported that the process was somewhat elaborate and time-consuming.
First, if you look closely at the SIP part of the frame, you’ll see a gap between exterior OSB panel and the foam insulation. That gap is meant to allow 2×2 wood pieces to be wedged there, to provide somewhere to nail the rest of the framing to the SIP.
Next, the green Zip sheathing is nailed to the frame, bridging the two walls. Caulking is applied under the Zip to prevent water and air from migrating horizontally.
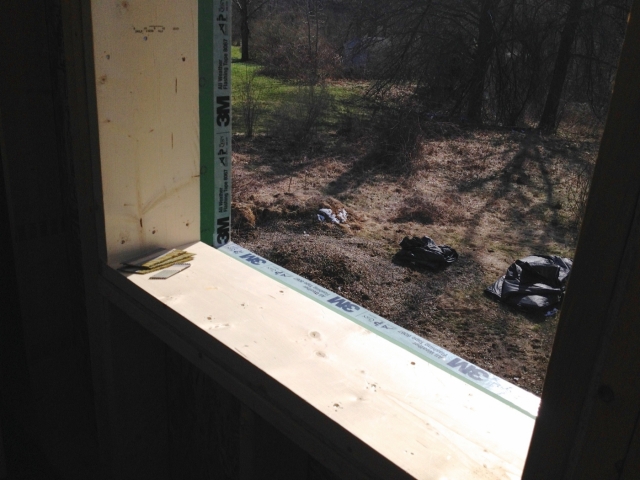
2x10s are nailed to the Zip to provide a solid wood frame, to which the window can be attached. Again, caulking is applied under the boards.
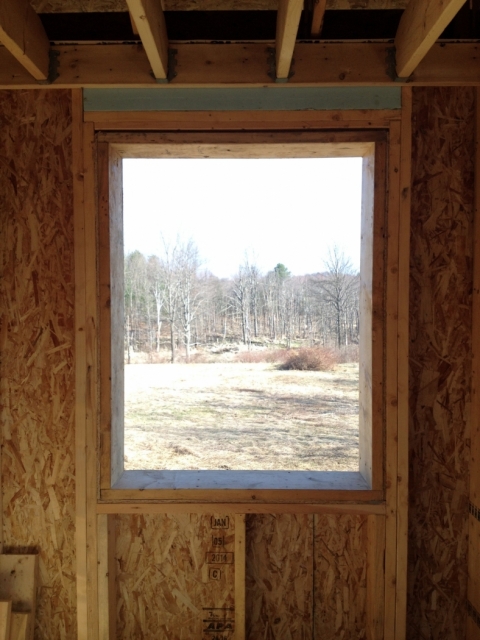
The entire window frame has the appearance of being over-engineered — it’s three boards thick in some places. I wonder if this bomb-proof structure is by design — to reduce load stresses and sheer stress from the windows — or if it’s just a function of having to deal with the SIP wall and stud wall discontinuity. As you might imagine, measuring all these boards, caulking and nailing takes a substantial amount of time.
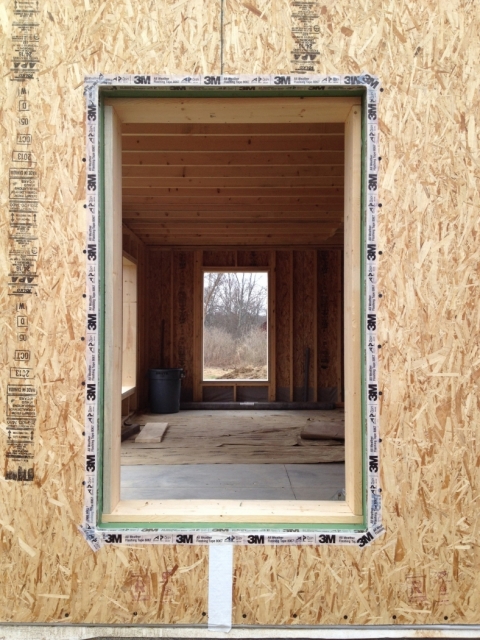
But we’re not finished. Outside (a first-floor window is pictured here), the SIP is affixed to the interior window frame with gigantically long screws, and then tape is applied where the Zip meets the SIP. As far as I can tell, this location — the outside of the SIP — is the primary air barrier. The window will sit right on the edge of the innermost 2x10s.
April 28, 2014: Starting on the driveway
This week, work began on excavating the driveway to connect the utilities to the street. Everything was supposed to be done by the end of the week, but it looks like we’re only about halfway there. Work on the house slowed down substantially, although some window framing got done and some of the building wrap went up.
On Monday, Don put up the building wrap around the first floor. The Typar housewrap is meant to allow water vapor to exit from inside the walls without letting any liquid water into the walls. I have no idea how that is possible, but apparently it works.
Believe it or not, the building wrap that you see is one single piece! It defies logic how Don managed to string up the wrap by himself, holding it up while taping it to the wall while making sure that it is flush and wrinkle-free. Not to mention, it was getting windy that day.
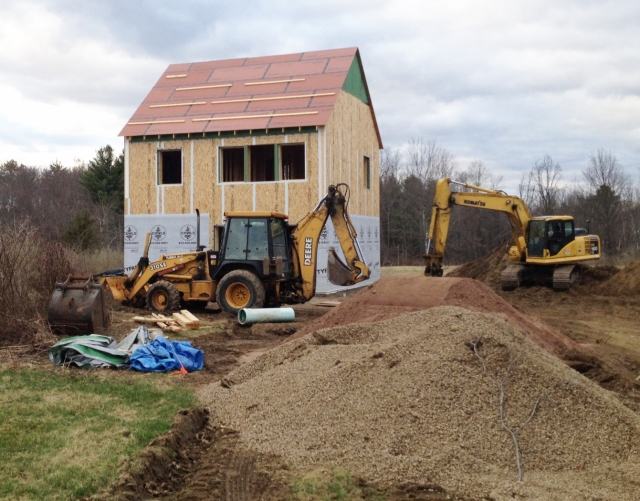
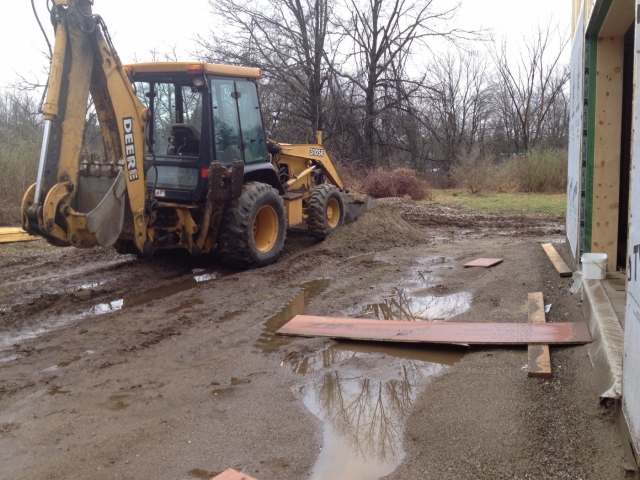
Excavation got started on Wednesday. Tractors and diggers arrived, as did piles of gravel and engineered dirt. I missed most of the action, but the neighbors said there was lots of activity.
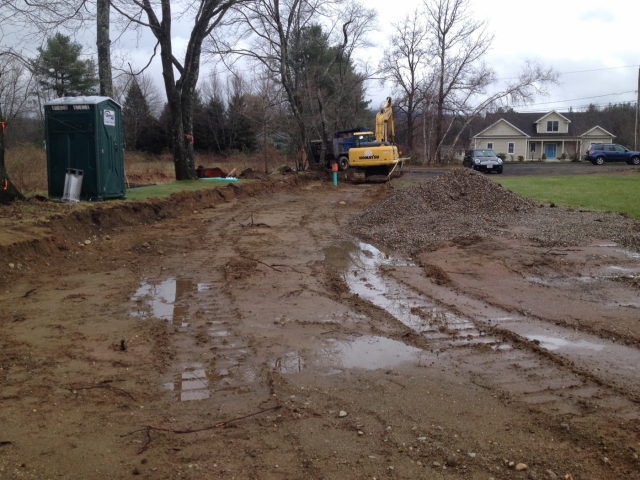
Buried under the dirt are water lines, sewer lines, electricity, phone, and cable, each spaced apart a certain distance specified by the code. The end result is a wide area that needs to be dug up even though the actual pipes aren’t that big.
The good news is that the sewer at the street turned out to be 15 feet deep, allowing us to drain into the sewer using gravity rather than a pump. The bad news is that it must have been quite a challenge to get down there.
Here’s the location of my future vegetable and native plant garden, under which lie an electrical conduit. I’m hoping the soil doesn’t get too disturbed or compacted, but I guess that’s far-fetched.
Alexi Arango is an assistant professor of physics at Mount Holyoke College in South Hadley, Massachusetts, where he and his students conduct research on next-generation photovoltaic cells. Arango teaches a joint physics/environmental studies course on renewable energy. Arango’s blog is called Potwine Passive House.
Weekly Newsletter
Get building science and energy efficiency advice, plus special offers, in your inbox.


3 Comments
Not only does it sit well on the land...
it looks like it has been there for years. Or perhaps it replaced an old barn. It's beautiful.
Window flashing
Would love to see how you intend to flash the openings and seal the windows/doors. Tape or Liquid flashingt? Personally, I'm a liquid kind of guy.
Transition
I would also be very interested in how the air barrier transfer is being done from wall-top plate- scissor truss?
Log in or create an account to post a comment.
Sign up Log in